Examining Eggs Prior to Incubation: a Beginner's Mistakes
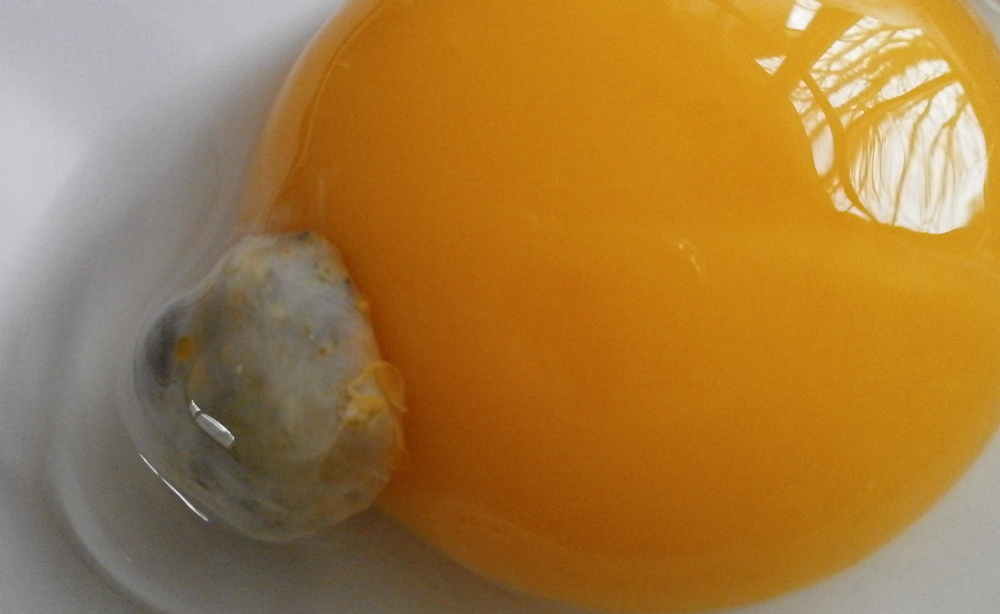
I wonder how many raisers of ducks and consumers of duck eggs have come across “stuff” like this inside eggs:

Every now and then, I find a pea-sized grey piece of “something” in an egg, remove it and forget about it, using the egg for cooking. Incubation is different, however. Probably, if I hadn’t removed this egg before filling the incubator, some forms of life would have developed inside it, that would have caused the egg to explode. This in turn, would have caused me to clean the rest .
Anyway, what are some of the reasons why we examine the eggs before and during incubation?
Preventing the Explosion of Infertile, Dead-in-Shell or Rotten Eggs
The foremost reason for examining eggs is hygiene. If no bird starts to develop inside the egg, it probably starts to rot in the temperature that prevails in the incubator. Also, embryos that die early, will perhaps start to rot inside the egg, causing the egg to explode sooner or later. If we candle the eggs once in every 5 days for instance, we can remove those eggs that seem not to be developing as expected.
You can read about the normal development of duck embryos here. The candling of duck eggs is covered here. You will see the web of veins of a live embryo quite well on the 5th day of incubation.
Weight Loss of Eggs during Incubation
As I have read, the eggs of ducks must lose about 13-15 per cent of their weight during the period of incubation, which is 28 days for ducks. At the same time, there is an expected size of the air sac of the eggs that must be achieved by the end of incubation, that can be observed when the eggs are candled.
Both variables can be controlled by regulating the humidity of the air in the incubator, and the evaporation rate of the eggs depends on the porosity of the shells, which depends on the season and the food of the breeders, among other things.
My first naive approach when preparing my very first set of eggs, was to weigh all the eggs before putting them into the machine, calculate the average weight, and use this number as the reference weight when observing the average weight loss of the eggs later.
There were some details I didn’t take into account as a newbie, even though I had probably read about these.
- If an egg or several ones turn out to be infertile or dead in the process of incubation, their original weight must be known, and the initial average weight must be re-calculated.
- The air sacs of the eggs are best visible during the last week of incubation, and might not indicate the evaporation rate of the eggs correctly in earlier phases.
As to relative humidity, I read that eggs that have been washed before incubation, may evaporate more than those not washed. My first experience showed that at least in the beginning of the laying season, with quality layer’s feed and strong shells, I need not worry about that. I guess that the death of two embryos of my first set, may have been caused by too high humidity in the beginning, and / or too much change in humidity later.
The Next Attempt
So, this morning I prepared the next batch of eggs with the following plan:
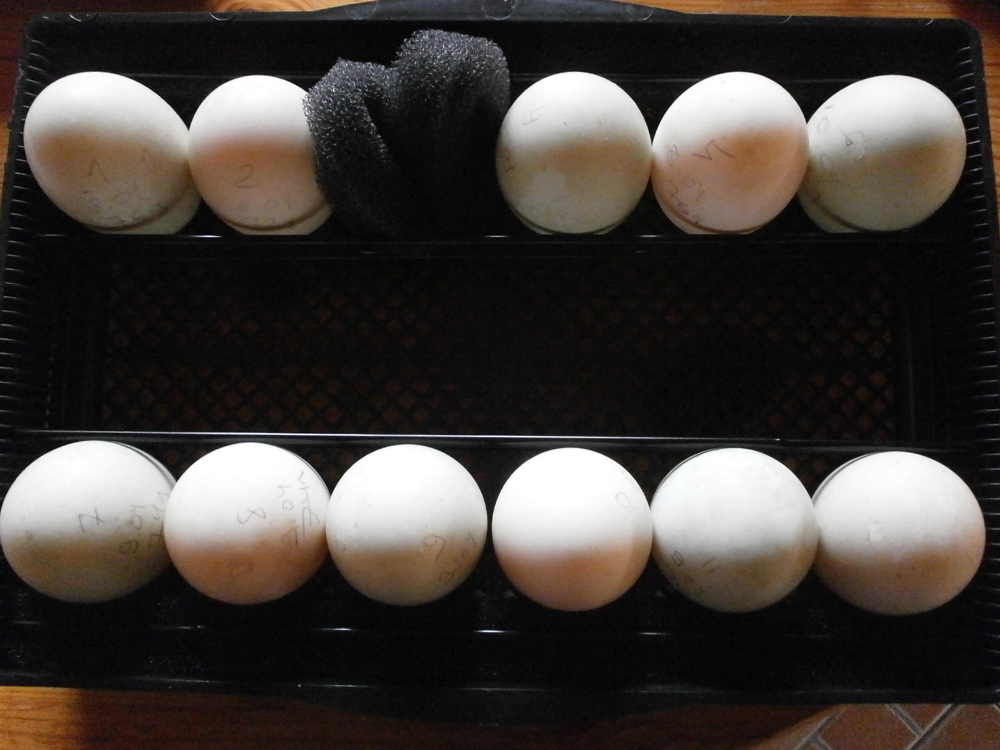
- Mark each egg with a number and its weight on day one, with a soft pencil. Writing the initial weight on the egg is for redundancy, in case I manage to lose or mess up my data.
- Once the air sacs become identifiable, mark these with the pencil once in a week, so the growth of the sacs can be observed.
- Do not worry about too much evaporation. Start with 50% relative humidity.
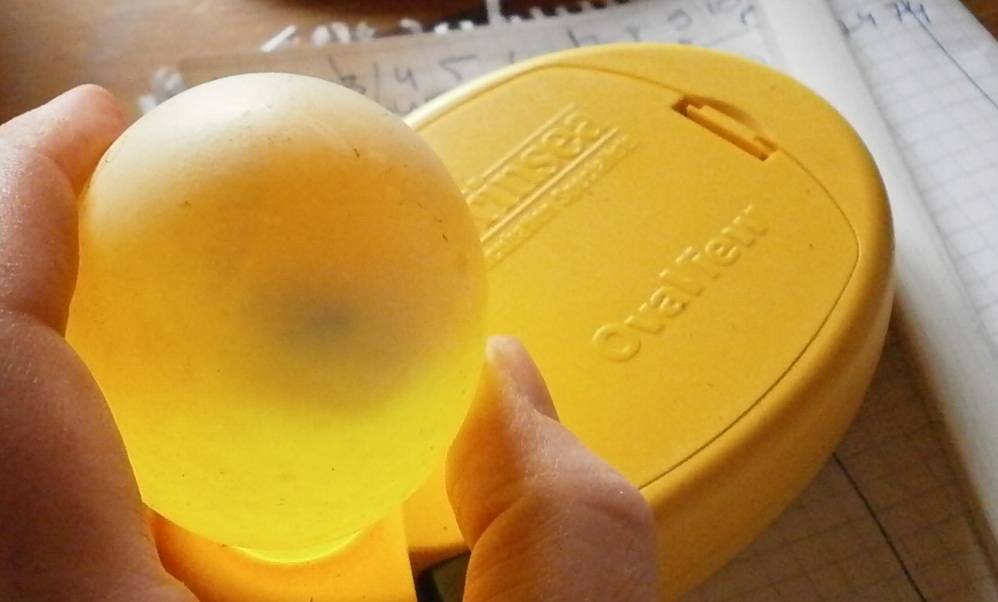
As we can see, the plan didn’t include candling the eggs before putting them to the incubator. Luckily, in the natural light of the morning, I noticed that one of them contained something weird. That “something weird” is displayed at the beginning of this post, and looked as follows when the egg was candled:

After opening the egg, I was surprised that the “stuff” was so large, while it looked quite small from outside. I’m going to find out what is the reason for eggs containing extra stuff, later.
So the next batch went into the incubator with one egg removed. I didn’t want to wait another day for that replacement egg, because I want the hatching day(s) to fall on weekend. And I didn’t want to take one straight out of the fridge, without letting it warm up. On the other hand, as I have read, eggs fresh from the duckhouse should wait half a day or so, for better results.

Yes, I use the separator pads of the Octagon curled up as dummy eggs, as placeholders for removed eggs.
p.s.
By the way, this spring we decided to candle the eggs we sell to our friends and colleagues, just be sure these look clean inside. It takes a second per egg, but hopefully helps promote the popularity of duck eggs.